Christmas Cookies and Holiday Hearts
Ceramic Christmas Tree Ornaments
Ceramic Christmas Tree Ornaments

There are many very artistic, challenging, and intelligent ways to use clay to make meaningful holiday ornaments. This is not one of them.
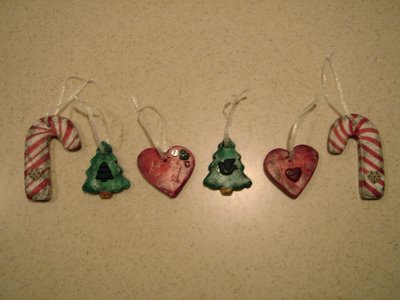
My husband and I didn't have very many ornaments to begin with--a couple of small, hanging picture frames, a "First-Christmas-as-a-couple" trinket from my parents, and some ribbon and bows. For our first Christmas in our new home last year, we "upgraded" to a full size Christmas tree. In making the switch to a larger tree, quantity in ornaments was valued over quality. So these cookie-cutter (literally) Christmas ornaments are not for the artist searching for deep expression and meaning; they are for the monetarily challenged ceramic artist who does not wish to settle for plastic balls.
These ornaments require very little supplies and not much time commitment in the early stages. The entire project can be explained in four steps: Roll out slabs of clay. Cut desired shapes from the slabs. Bisque fire. Paint and decorate as desired. Not much to it. It's so easy that I've actually done something similar with a first grade class. Where this project becomes interesting and fun for me is in painting and decorating. I have my own process that I like to do, but really the possibilities are endless.

Above are some possible decoration supplies: paintbrushes, various watercolor paints, holiday buttons, and clear varnish.
Watercolor paints create interesting effects on bisqued clay. Because the clay is so starved for moisture, it will suck up the water in the paint very quickly. This makes the application always thicker at the beginning of a paintbrush stroke. I like to use the thick/thin effect of the paint as a part of my design.
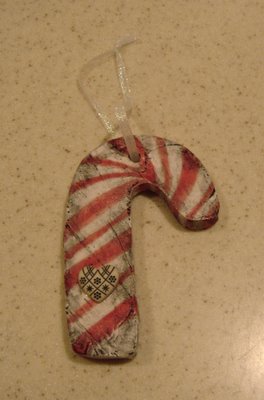
After a first coat of paint, the ornaments get a coating of clear satin varnish. This seals the first layer of colors so they won't mix with further layers. Once the varnish dries, I add a wash of black paint. After allowing the black wash to dry only partially, I blot it with a paper towel giving the ornament an aged look. Depending on how creative I get, and how many layers I paint, finishing the ornaments can honestly take forever. I tend to get carried away. Over a year later, I still have unpainted ornaments that I pull every once and while to work on.
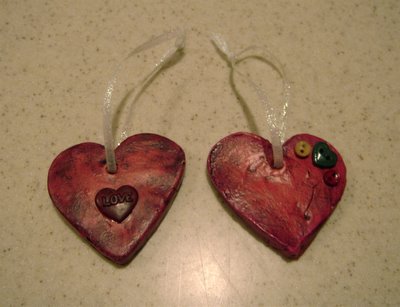
With a stroke of luck, when I was at the craft store buying ribbon to hang the ornaments on, I happened to see a bag of assorted holiday buttons. I bought them, took them home, and glued them on my ornaments. Voila!--finished holiday decorations.
My husband and I treasure being able to put things on our Christmas tree that are uniquely ours. Though our ornaments may not be the most artistic, they are meaningful to us because they are so personal. Each one represents time and talent given to make our house a home. I look forward to making another batch with my daughter. I just have to wait until she's old enough to hold a paintbrush.
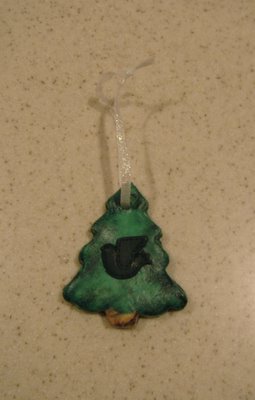
Below are some examples of finished ornaments.


Merry Christmas, Happy Holidays, and the very best wishes for this brand New Year from my family to yours!


1 comment:
Love your christmas ornaments. It's what makes a house a home. The title of your entry caught my eye - I remember my brother learned a song when he was in first grade (early 80s?) called "Christmas Cookies and Holiday Hearts" and I've never heard it since! We grew up in SLC... maybe it's a Utah song? Anyway, thanks for sharing!
Post a Comment