
Flat Bisque Stamps
Flat stamps are similar in form to rubber crafting stamps. However, instead of creating a simple space/negative space two-toned image, flat bisque stamps go so much further. They can create depth and texture on the clay to make a truly three-dimensional image.
1. Roll out a ¼ inch thick slab, keeping the thickness even throughout.
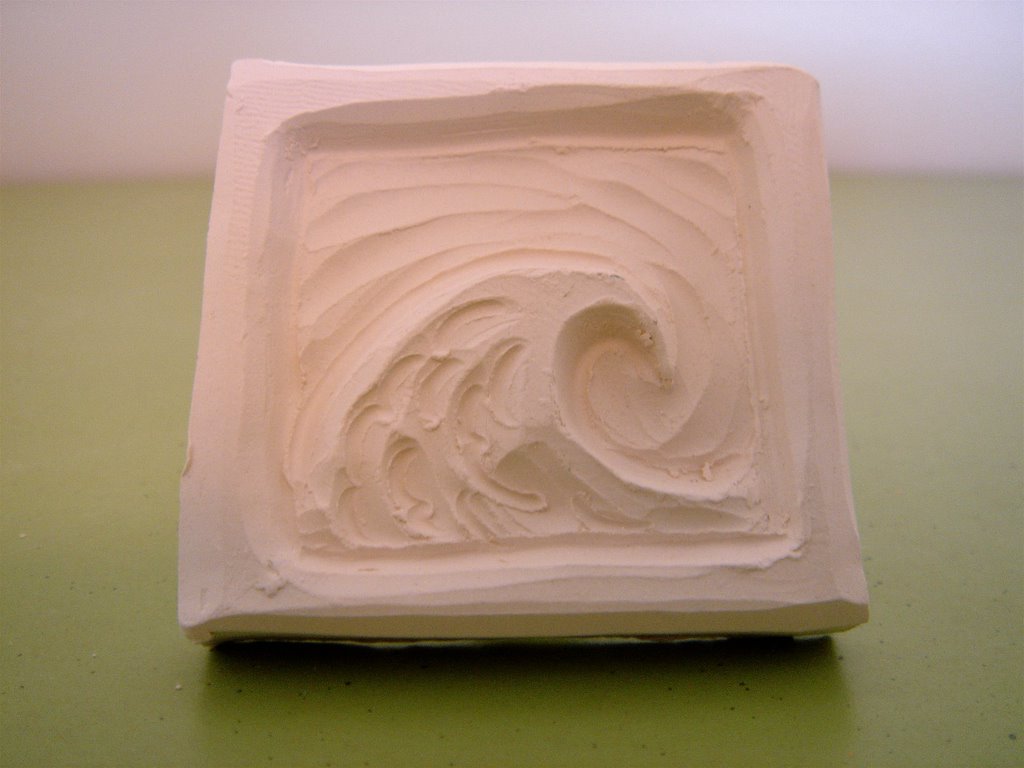
2. Cut the stamp shape from the slab using an exacto knife or a needle tool. Stamps may be any size or shape (within reason). When designing the outer shape of the stamp, simpler is better for cutting out and cleaning up. To save myself trouble when making a very complex stamp, I will surround it by a simple square or round border. As in the stamp pictured below, the wave shape would be hard to cut out an brittle at the edge. By giving it a square border, the stamp is more stable and even the negative space can be used as a design element.
3. From the same slab, cut out a rectangular piece to use as a handle for the stamp. The size of your handle will vary with proportion to the stamp. Score and slip the bottom edge of the handle as well as the contact point on the back of the stamp. Firmly press the handle onto the stamp, wiggling it a little to assure that it sticks. At this point, I like to grasp the handle with my thumb and forefinger on the front and back and press slightly, leaving an indentation. This makes the stamp more comfortable for me to hold when bisqued.

4. Lightly drape the stamp with plastic and allow to dry to medium leather hard.
5. When leather hard, clean up the back of the stamp. Run the eraser end of a pencil along the edges where the handle is attached. This serves to both strengthen the bond, and get rid of messy and sharp edges.
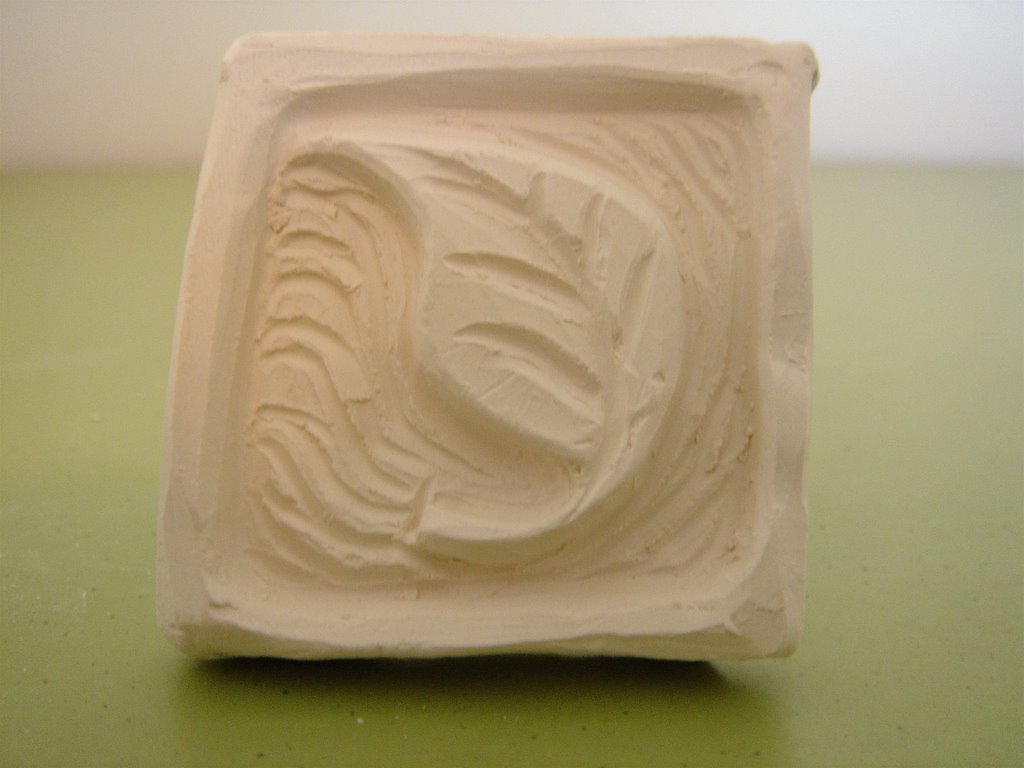
6. With a dull pencil or a needle tool, sketch the stamp’s details on the front. Using carving tools of your choice, carve and texture the stamp. The more texture included at this stage, the more interesting the indentation will be. As in the leaf stamp below, the background is also carved to create interest.
7. When the detailing is finished, allow the stamp to harden further to stiff leather hard. With a damp paintbrush or sponge, lightly brush all surfaces to eliminate sharp edges and give your stamp a finished look. Try to resist the overwhelming urge to test your stamp at this stage. I have broken stamps and destroyed carving in my eagerness to see what the finished product will do.
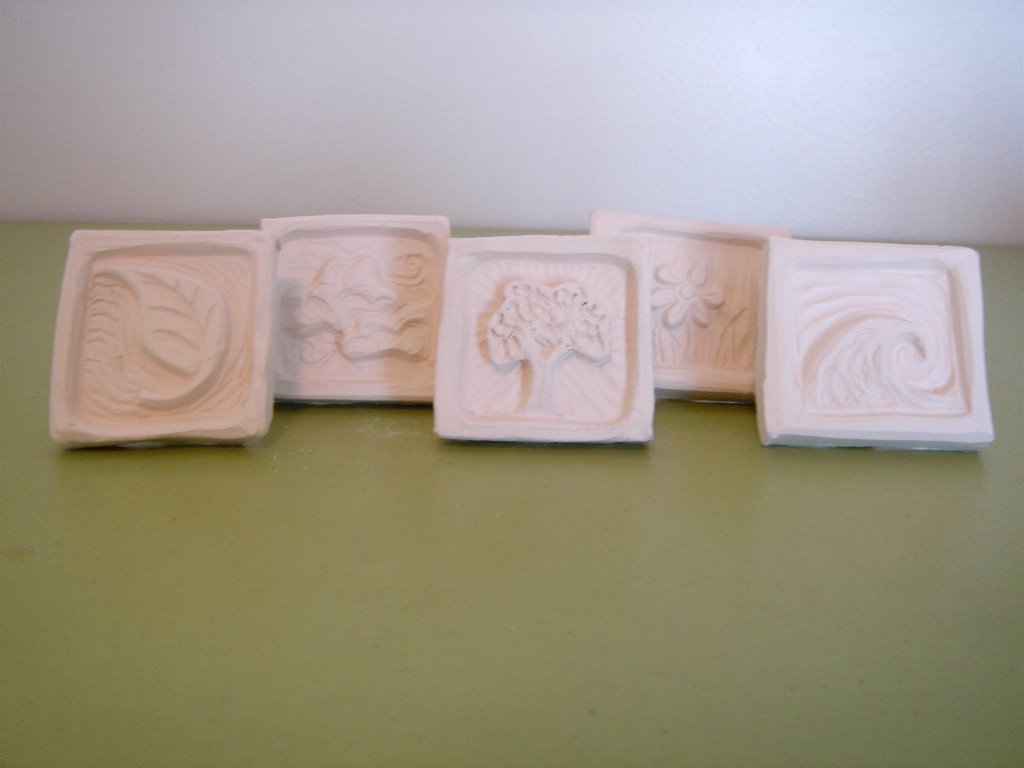
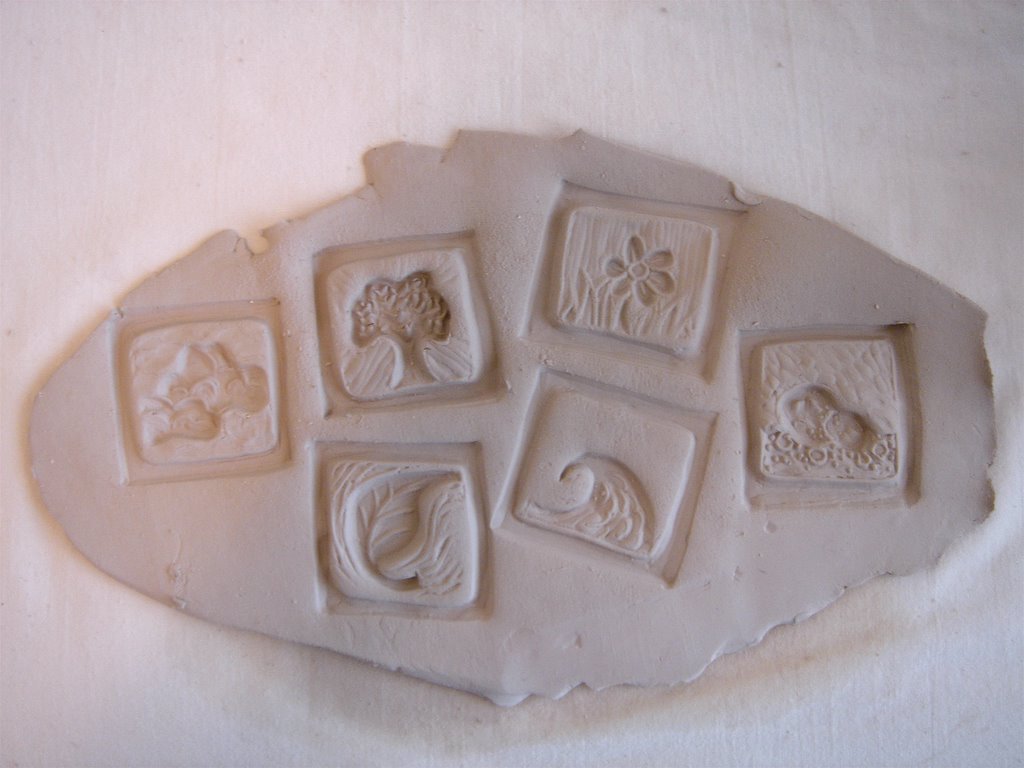
8. Bisque fire the stamp. All stamps shown are bisqued to cone 06 in an electric kiln. Below are some examples of indentations made by finished stamps.


No comments:
Post a Comment